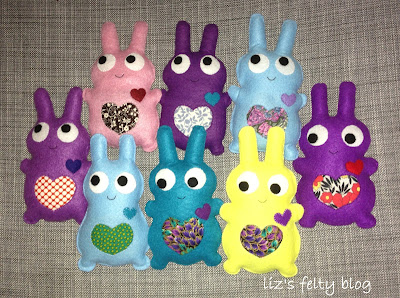
My lovely cousin Jennie suggested that we sell my felties outside her dad's shop at Yarraville Festival. A few bunnies found new homes last year, so it was time to stock up!
In the middle of sewing, I realised I've never put up a bunny tutorial. Unfortunately I was already quite a few steps ahead before I remembered to take photos, but I think you can figure out how to do it from the pictures, the bunny templates aren't too complex.
How to make a bunny:
1. Cut out felt shapes:
- 2x coloured bunny shapes (one with a heart shape cut out in the belly)
- 3x white circles (2 for eyes and 1 for tail)
- 2x small black circles for eyeballs
- 1x small heart
- 1x square of patterned fabric
The eyes and tail are sewn on to the bunny's front and back respectively. Then stitch a little smile. The bunnies could also have a nose added, but I think they look cute without noses.
2. Pin the patterned fabric behind the bunny's belly heart hole and sew around the hole to attach.
3. Stitch the small felt heart on the bunny's chest.
4. Stitch together the front and back. Leave one side open for stuffing, then seal up the bunny.
Yay! New bunnies! So many bunnies!


No comments:
Post a Comment